
How to Personalize Phone Cases: A Simple Guide
Personalising a phone case might seem like a simple craft project, but the choices you make early on can make or break your design. Most people grab the first case that catches their eye, yet plastic, silicone, and hard shell cases create the best surface for creative customisation. The real surprise is that skipping this careful selection can leave your artwork peeling or fading long before you ever show it off.
Table of Contents
- Step 1: Choose The Right Phone Case For Customization
- Step 2: Gather Your Personalization Materials
- Step 3: Design Your Custom Artwork Or Message
- Step 4: Apply Your Design To The Phone Case
- Step 5: Allow Your Design To Cure Or Dry Properly
- Step 6: Inspect And Test Your Personalized Phone Case
Quick Summary
| Key Point | Explanation |
|---|---|
| 1. Choose a Customisable Phone Case | Select smooth, non-textured cases like plastic or silicone for easier personalisation and better results. |
| 2. Gather High-Quality Materials | Use suitable art supplies and tools for durability and adherence, avoiding low-quality options that might fail. |
| 3. Plan Your Design Thoroughly | Sketch designs beforehand, keeping size and technique in mind to ensure proportionality and visual appeal. |
| 4. Apply with Precision and Care | Clean the surface thoroughly and use careful techniques for applying designs to achieve a professional finish. |
| 5. Inspect for Quality and Durability | Check the finished product for imperfections and test its durability to ensure it meets practical usage standards. |
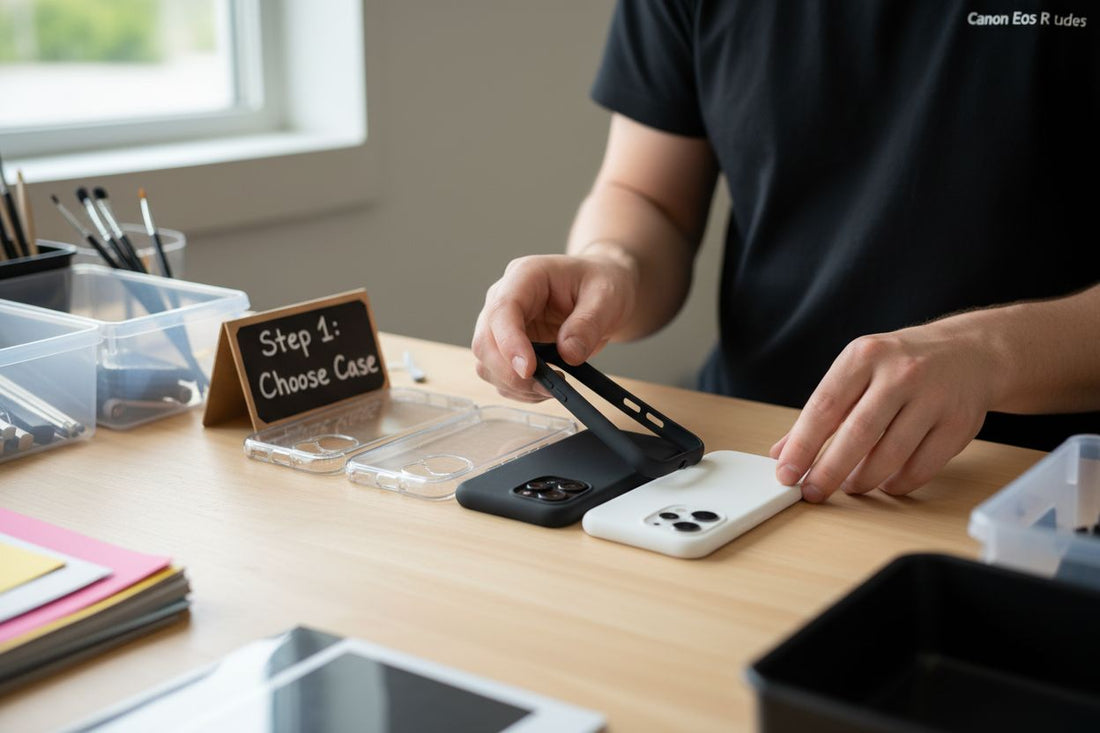
Step 1: Choose the Right Phone Case for Customization
Selecting the perfect phone case is the critical first step in your personalisation journey. Not all cases are created equal, and the material, durability, and design will significantly impact how effectively you can customise your mobile accessory.
The most suitable cases for personalisation typically feature smooth, non-textured surfaces that provide an excellent canvas for your creative vision. Plastic, silicone, and hard shell cases are often the best choices, offering a clean background that readily accepts various decorative techniques. Explore our guide on case materials to understand which might work best for your specific customisation goals.
Consider the practical aspects of your chosen case. Look for models with a solid, uniform colour and minimal existing patterns or textures. Glossy white or solid pastel cases often provide the most versatile base for personalisation. Avoid cases with complex surface textures like leather, fabric, or heavily patterned designs, as these can interfere with your customisation process.
Your case selection should also align with your intended personalisation method. Different techniques work better with specific case materials. Sticker application works wonderfully on smooth plastic surfaces, while paint and permanent markers adhere best to silicone or hard shell cases. If you plan to use UV printing or professional decal services, ensure your case has a relatively flat surface without significant curves or complex contours.
Device compatibility is paramount. Confirm that the case matches your exact phone model and generation, as even slight variations can impact the fit and ultimately, your personalisation success. Measure your device precisely or use manufacturer specifications to guarantee a perfect match.
Finally, consider the case’s long-term durability. A high-quality base case ensures that your personalised design remains intact and protected. Cheaper, flimsy cases might compromise your creative efforts, so invest in a robust foundation that will showcase your unique design for months to come.
Step 2: Gather Your Personalization Materials
Preparing the right materials is crucial for transforming your phone case from ordinary to extraordinary. This step sets the foundation for a successful personalisation project, ensuring you have everything needed to bring your creative vision to life.
Start by selecting high-quality decorative materials that match your personalisation technique. Permanent markers, acrylic paints, vinyl stickers, and decorative embellishments will be your primary tools. Choose materials specifically designed for crafting and customisation, as household or low-quality supplies might not adhere properly or could damage your phone case.
Explore our guide on case materials to understand which techniques work best with different case types. Precision is key when selecting your materials, so invest time in researching compatibility and durability.
Your toolkit should include some essential supporting items beyond the primary decorative materials. Rubbing alcohol for cleaning the case surface ensures a pristine canvas for your design. Fine-grit sandpaper can help create a slightly rough texture that improves paint or sticker adhesion. Sharp scissors or a craft knife will be invaluable for precise cutting of vinyl or sticker designs.
Protective gear is equally important. Disposable gloves prevent oils from your skin interfering with the personalisation process and protect your hands from paints or adhesives. Newspaper or a protective plastic sheet will safeguard your working surface from potential spills or paint splatters.
If you’re planning more complex designs, consider additional tools like stencils, transfer paper, or application tools specific to your chosen technique. Precision tweezers can help place small decorative elements, while a ruler or measuring tape ensures symmetrical placement of your design.
Before beginning your project, do a quick inventory check. Arrange all materials in a clean, well-lit workspace with ample room to spread out. Confirm you have backup supplies in case of mistakes, and ensure your chosen materials are fresh and in good condition. This preparation transforms your personalisation from a potentially frustrating experience into an enjoyable, creative process.
Below is a summary table of recommended tools and materials for personalising your phone case, including their specific purposes and key usage notes.
| Item | Purpose | Notes |
|---|---|---|
| Permanent markers | Drawing or writing designs | Opt for high-quality, durable markers to prevent fading or smudging |
| Acrylic paints | Hand-painting custom artwork | Use with a brush; allow sufficient drying between layers |
| Vinyl stickers | Adding patterns, text, or graphics | Best applied to smooth, clean surfaces |
| Decorative embellishments | Enhancing with gems, charms, or 3D effects | Attach using suitable adhesive; ensure not overly bulky |
| Rubbing alcohol | Cleaning the phone case surface | Ensures optimum adhesion for art materials |
| Fine-grit sandpaper | Lightly roughening the surface if needed | Improves adherence for paints and stickers |
| Sharp scissors/craft knife | Cutting vinyl, stickers, or embellishments | Supports precision and control |
| Disposable gloves | Protecting hands and preventing surface oils | Maintains a clean, uncontaminated working area |
| Newspaper/plastic sheet | Protecting the working area from spills | Lay out before beginning to contain messes |
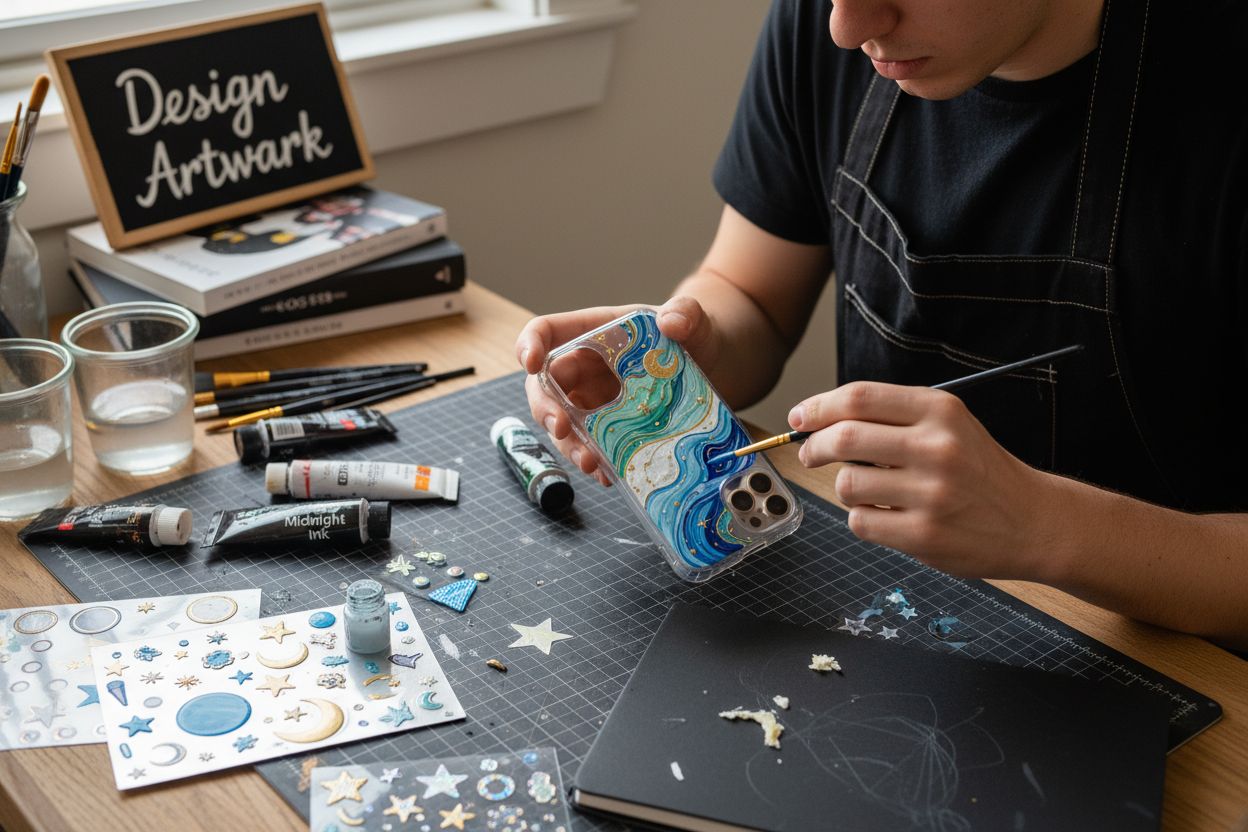
Step 3: Design Your Custom Artwork or Message
Designing your personalised phone case artwork requires creativity, planning, and a strategic approach. This crucial stage transforms your blank case into a unique expression of your personality, style, or sentiment. Think of your phone case as a miniature canvas waiting to showcase your artistic vision.
Begin by sketching preliminary designs on paper, allowing yourself freedom to explore various concepts without committing to the final product. Consider the physical dimensions of your phone case, ensuring your design will fit proportionally and look balanced. Measure the case precisely and create a scaled template that matches the actual surface area you’ll be working with.
Explore our guide on case design aesthetics to understand visual composition principles. Simple, clean designs often translate more effectively onto phone cases compared to overly complex artwork.
When conceptualising your design, factor in the personalisation technique you selected in previous steps. Stickers and vinyl transfers work best with crisp, defined lines and graphic elements. Hand-painting allows for more organic, fluid designs with subtle colour gradients and textural variations. Digital printing supports photographic images and intricate patterns with remarkable precision.
Personalisation goes beyond pure aesthetics. Consider incorporating meaningful elements like significant dates, coordinates of a special location, favourite quotes, or stylised representations of personal interests. These thoughtful touches elevate your phone case from a mere accessory to a deeply personal statement.
Technical considerations are equally important. Ensure your design works with your chosen phone case colour and material. Light designs pop beautifully on dark backgrounds, while dark or bold artwork creates striking contrast on lighter cases. Test your design digitally or through a rough sketch to visualise how it will ultimately appear.
Before finalising your artwork, create a digital or physical mockup. This step allows you to make critical adjustments, ensuring colour harmony, precise placement, and overall visual appeal. A well-planned design reflects not just creativity, but intentionality and personal storytelling through your unique phone case personalisation.
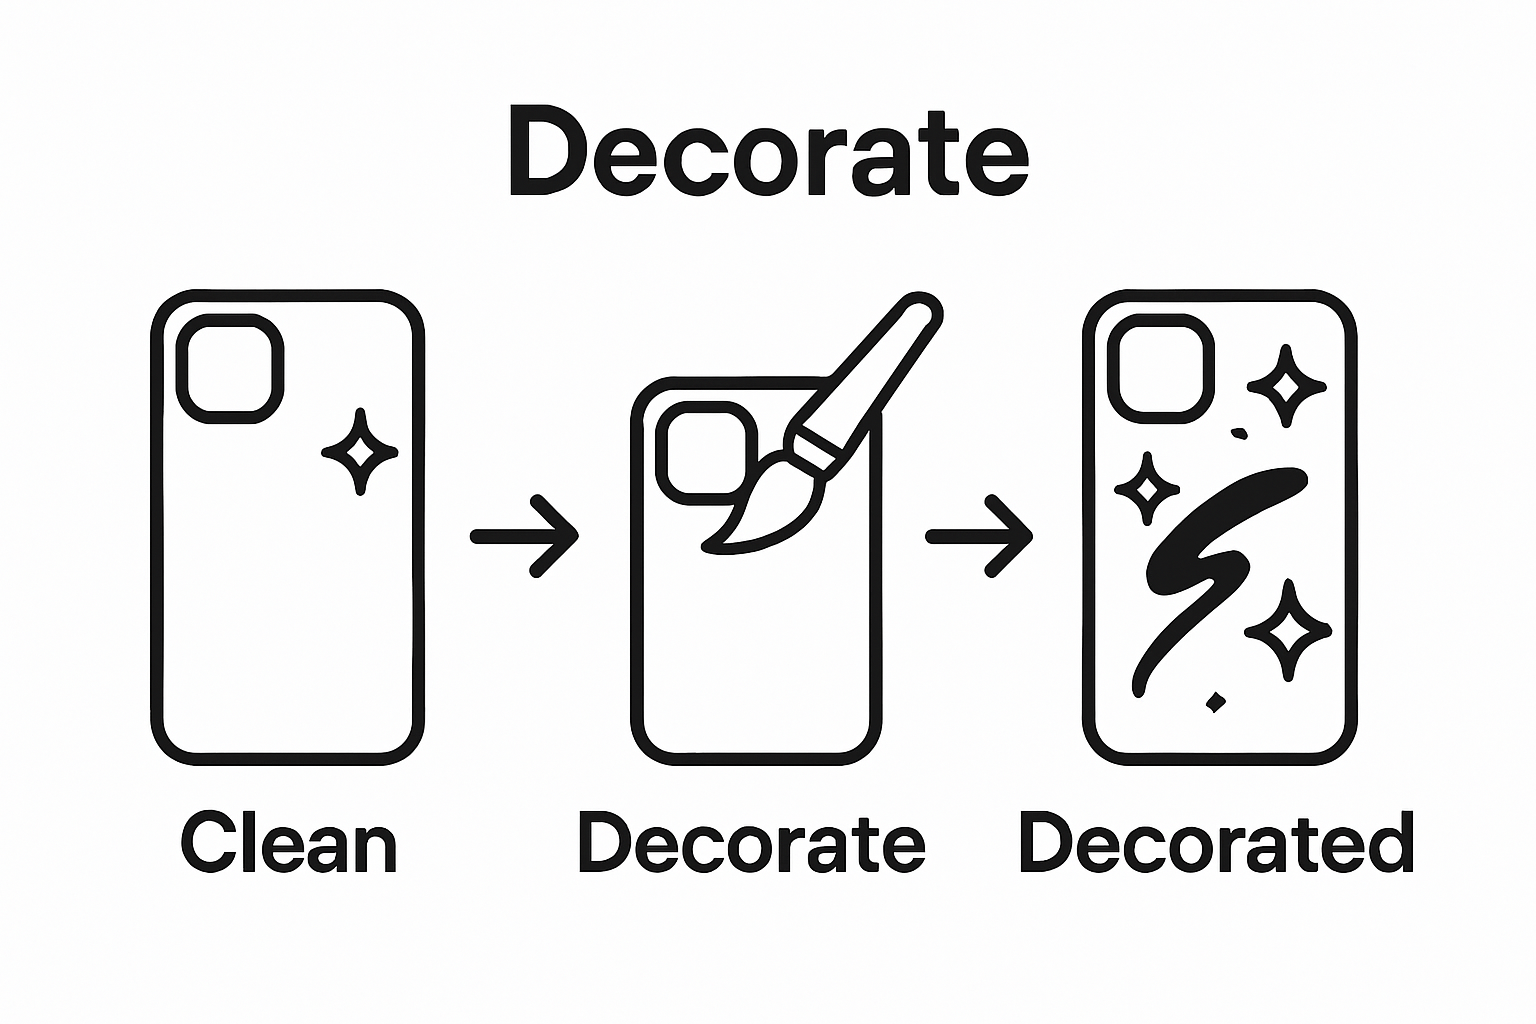
Step 4: Apply Your Design to the Phone Case
Applying your carefully designed artwork requires precision, patience, and a steady hand. This transformative step turns your creative vision into a tangible, personalised phone case that reflects your unique style. Preparation and technique are paramount to achieving a professional-looking result.
Begin by creating a meticulously clean workspace. Thoroughly clean your phone case using rubbing alcohol and a lint-free cloth, removing any dust, oils, or residue that might interfere with your design application. Find your perfect case application technique to ensure optimal results across different case materials.
For sticker or vinyl transfers, carefully position your design using low-tack masking tape as a temporary guide. This technique allows you to preview placement and make minute adjustments before committing to the final application. Slowly peel and apply the design from one edge, using a credit card or application tool to smooth out air bubbles and ensure perfect adhesion.
Hand-painting requires a different approach. Use thin, deliberate brush strokes, building colour gradually to prevent bleeding or uneven coverage. If using acrylic paints, apply a thin base coat first to create a uniform surface. Allow each layer to dry completely before adding additional details or colour layers. Consider using stencils or painter’s tape to create crisp edges and protect areas you want to keep pristine.
Digital printing or professional transfer methods demand careful alignment and precise application. Follow the specific instructions provided by your printing service, ensuring the design is centred and matches the case’s contours exactly. Some services offer alignment guides or templates to simplify this process.
Once your design is applied, allow sufficient drying or setting time. For painted cases, this might mean 24-48 hours of careful handling. Vinyl and sticker applications typically set more quickly but still require gentle treatment during the initial hours after application.
Finally, inspect your work under good lighting from multiple angles. Look for any imperfections, air bubbles, or uneven areas. Minor adjustments can often be made immediately after application, but patience and a careful approach during the initial application will yield the best results. Your personalised phone case is now a unique expression of your creativity, ready to protect and showcase your individual style.
Step 5: Allow Your Design to Cure or Dry Properly
The curing and drying process is a critical yet often overlooked stage in personalising your phone case. Proper drying ensures the longevity and durability of your creative design, transforming a potentially temporary decoration into a lasting personal statement. Rushing this stage can compromise weeks of careful preparation and artistic effort.
The specific drying requirements vary significantly depending on your chosen personalisation technique. Explore our guide on case material preservation to understand the nuanced differences between various application methods.
For painted designs, create a dedicated drying environment that minimises dust, humidity, and potential contamination. Select a flat, stable surface away from direct sunlight or heat sources, which can cause uneven drying or colour distortion. Acrylic paints typically require 24 to 48 hours of undisturbed curing time, with some specialist paints needing up to a week to reach maximum hardness.
Vinyl and sticker applications demand a different approach. After careful application, apply gentle, consistent pressure using a soft squeegee or credit card to eliminate air bubbles and ensure complete adhesion. Allow these designs to settle at room temperature for several hours, avoiding extreme temperatures that might cause premature peeling or warping.
Digital transfers and professional printing techniques often come with specific manufacturer instructions. Some require heat setting using a low-temperature iron or require a specific curing time in a controlled environment. Always follow the professional printer’s recommended guidelines to maintain design integrity.
During the curing period, handle your phone case with extreme care. Avoid placing it in tight spaces, subjecting it to pressure, or exposing it to potential scratching surfaces. Create a designated resting area where the case can remain undisturbed, allowing the design to set completely.
Verify the curing process by gently testing the design’s resilience. A properly cured design should feel smooth, show no signs of lifting or bubbling, and resist light scratching with a fingernail. If any imperfections are noticed, additional setting time or a light touch-up might be necessary. Patience during this final stage ensures a professional, long-lasting personalised phone case that reflects your unique creativity.
Step 6: Inspect and Test Your Personalized Phone Case
The final stage of personalising your phone case involves a comprehensive inspection and practical testing to ensure your creative effort translates into a functional, durable accessory. Thorough examination guarantees both aesthetic excellence and practical performance.
Discover more about case protection techniques to complement your personalisation process. Begin your inspection under bright, natural lighting, which reveals subtle imperfections that might be invisible in dim environments. Examine your design from multiple angles, checking for consistent colour application, smooth edges, and uniform coverage.
Tactile examination is equally critical. Run your fingertips gently across the entire surface, feeling for any raised edges, air bubbles, or uneven areas in your design. Vinyl transfers should feel completely smooth, while painted surfaces should have a consistent texture without rough patches or visible brush strokes. Pay special attention to edges and corners, where designs are most likely to lift or wear prematurely.
Practical testing involves simulating real-world usage scenarios. Gently flex the phone case to check design durability, ensuring your artwork doesn’t crack, peel, or separate from the base material. Test the case’s fit on your actual device, confirming that personalisation hasn’t compromised the case’s structural integrity or port accessibility.
Consider conducting a controlled wear test. Place the case in a pocket with keys or other potentially abrasive items to assess its scratch resistance. Simulate everyday handling by deliberately touching and manipulating the case, observing how your design responds to natural wear and potential minor impacts.
For designs involving multiple layers or complex techniques, additional scrutiny is crucial. Check that each layer adheres correctly, with no visible separation or bubbling. Digital prints should display crisp, clear imagery without colour bleeding or distortion. Hand-painted designs require extra attention to ensure colour vibrancy and design precision.
If any imperfections are discovered during this inspection, don’t be discouraged. Minor touch-ups can often salvage your personalisation project. Small corrections might involve carefully reapplying a section of vinyl, touching up paint, or applying a protective clear coat to enhance durability. Your meticulous approach ensures a phone case that is not just personalised, but professionally crafted.
The following table provides an overview of each core step in personalising a phone case, outlining the main goal and key considerations for every stage of the process.
| Step | Main Goal | Key Consideration |
|---|---|---|
| Choose the right case | Select a suitable base for personalisation | Ensure material is smooth, uniform, and fits your device |
| Gather materials | Prepare all necessary tools and decorative items | Choose high-quality, compatible supplies |
| Design your custom artwork or message | Plan and create your unique design | Adjust design to fit case dimensions and material |
| Apply your design to the phone case | Affix or paint your artwork onto the case | Use appropriate technique and ensure a clean workspace |
| Allow design to cure or dry properly | Ensure your design sets for durability | Allow sufficient drying/curing time for your technique |
| Inspect and test your personalised case | Verify the result is both attractive and practical | Check fit, adhesion, and resistance to daily wear |
Start Your Personalisation Journey with StudioShake
Struggling to find the perfect base for your new creative project? This guide walks you through the essentials, from choosing the right material to making your artwork truly stand out. We understand your challenge to find high-quality, affordable and blank phone cases that make customisation easy and satisfying. It can be disappointing to invest time and energy into a unique design only to see it fade or peel because the case was not ideal. At StudioShake, you will discover a wide selection created for personalisation, especially if you want a smooth, reliable base that protects your phone as much as it displays your creativity.
Discover the £1 Case Collection and see how simple it is to find inspiring, customisable cases ready for your next project.
Choose your favourite design, get inspired, and order today to avoid running out of stock while the price lasts. Visit StudioShake for unbeatable value and a full range of accessories for every model. Turn your ideas into personalised art with the right foundation and finish. Start now to make your case as unique as you are.
Frequently Asked Questions
How do I choose the right phone case for personalisation?
To choose the right case, opt for smooth, non-textured surfaces made from materials like plastic or silicone. Ensure it has a solid colour without complex patterns, is compatible with your phone model, and is durable enough to protect your design.
What materials do I need for customising my phone case?
Gather high-quality materials such as permanent markers, acrylic paints, vinyl stickers, and decorative embellishments. You’ll also need rubbing alcohol for cleaning, sharp scissors or a craft knife, and protective gear like gloves to prevent smudging.
How can I design my custom artwork for a phone case?
Start by sketching preliminary designs on paper, taking into account the dimensions of your case. Consider the personalisation method you’re using, and ensure that your design complements the case’s colour and material for the best visual effect.
How long should I let my personalised phone case dry or cure?
Drying times vary based on the application method. Painted designs typically require 24 to 48 hours to cure fully, while vinyl applications need a few hours at room temperature. Always follow specific instructions for digital prints to ensure your design lasts.